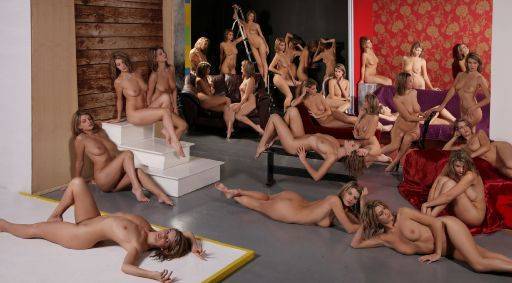
26 Naked Women in one picture

Some photographers can call upon hundreds of models to create this kind of shot. Most of us don't have that kind of budget and/or that many willing friends.
So instead we have to cheat in post processing.
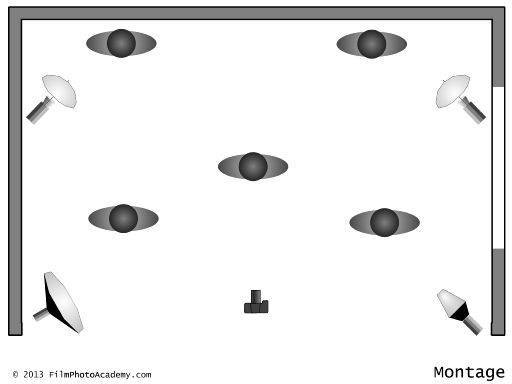
The camera position is locked off on a tripod - for this shot I've got the camera as high as I can get it. This ensures a relatively clean view across the heads of the "crowd". This is not unlike shooting a wedding group.
Then we test the lights at the edges and centre of the shot, making sure we have a consistent exposure at all points. Or if there is a change in exposure it is acceptable both in technical and aesthetic terms.
Finally the focus on the camera is locked off at the hyperfocal point - roughly one third of the way into the image. This ensures that things are pretty much in focus from front to back. Though it is not an issue if things are little soft in the back row.
Then the model moves from position to position, with typically just one or two shots in each spot.
The first trick is to try and minimise the amount of overlap in the figures to simplify your post processing,
The second trick is to create some sense of interaction between all the figures. So the model can chat to "herself" - be looking into another's eyes, be passing objects between them etc.
The post processing is simple but tedious.
Firstly you layer all the images one on top of the other. Hopefully they will all be aligned correctly since the camera and camera focus should not have changed. If not slightly tweak them - or use the auto-align function - line them up.
Then, crudely cut around each model and delete the unused space. Do this quickly in all the layers so you get a sense of how the image goes together. You may want to move layers up or down at this point to make sure the right figure obscures details behind them.
Then with a soft edged brush you go back over each layer erasing any unwanted background that is showing over any models in earlier layers. Start at the back and work forwards is easiest.
You can also use layer masks for this, which does give you the opportunity to go back and tweak where you may have been inaccurate. This image uses 27 layers - my computer could not cope with using masks on all the layers so I just used the erase brush.
Just keep going over all the layers tidying up the edges and overlaps as you go. Be prepared to take some time.
Also, keep an eye out for shadows and reflections, these need to be coherent within the image as well. For example look at the reflection on the floor of the central model lying down.
key points
Lock the camera into position and set manual exposure and manual focus so they do not change between shots.

share:
You can learn how to develop your own lighting, posing and directing skills with our extensive and intensive range of video programs available on DVD or download.
Videos on DVD / Download